
Practical grading guide
How to check your cards before grading
With good light, a magnifier and a consistent routine, you can spot scratches, wear and uneven centring before submitting your Pokémon cards. Inspect the card in four steps and set realistic expectations.
Your own inspection is often called pre-grading. It helps you choose candidates, but the grading company assigns the final grade. Good condition or a photograph is not a guarantee of a particular grade.
Start with the right equipment
- A clean work surface without dust or crumbs
- A lamp that reveals the card from different angles
- A magnifier, for example 10×
- Clean sleeves and suitable card holders
- Notes or a simple observation sheet
Wash and dry your hands. Handle the card gently by its edges without touching the front or back. Take out one card at a time. Start with the naked eye, then use a magnifier on areas you are unsure about.
Step 1 / 4
Inspect the surface
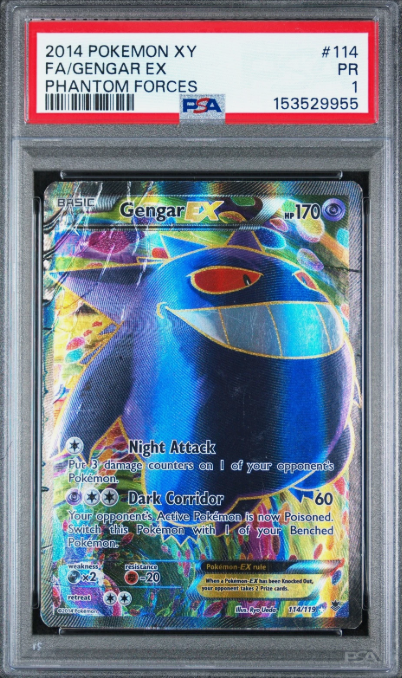
Carefully remove the card from its sleeve. Tilt it slowly under a lamp and repeat on the back. A sleeve or slab can hide small defects or have scratches of its own.
- Fine scratches in holofoil and glossy areas
- Print lines
- Dents, pressure marks, creases and bends
- Stains and surface irregularities
A pack-fresh card is not necessarily flawless. Manufacturing, cutting and packing can leave defects.
Step 2 / 4
Check every edge
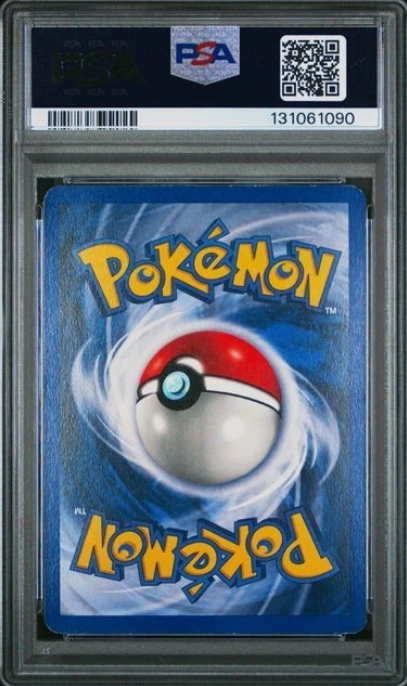
Inspect one edge at a time on both front and back. Whitening is often easiest to see against the blue border on the back. Use a magnifier to examine irregularities.
- White dots and areas where colour has worn away
- Chipping along the edge
- Loose paper fibres
- Uneven cutting or pressure damage
Write down exactly what you find. 'White dot at the bottom of the back' is more useful than 'looks almost perfect'.
Step 3 / 4
Inspect each corner separately
One worn corner is easy to miss. Inspect all four corners from both sides and compare their rounded shape.
- Wear and whitening
- Small bends and pressure damage
- Protruding fibres
- Irregular corner shapes and adjoining edges
Do not press fibres or worn areas back into place. This can leave new marks or alter the card.
Step 4 / 4
Measure the centring
Compare the left and right borders, then the top and bottom. Inspect front and back separately. A card can be centred horizontally but shifted vertically.
- Measure both borders in the same unit
- Calculate each border as a share of their combined width
- Repeat for top and bottom, then on the back
- Take photographs directly overhead to avoid perspective distortion
Example: 3 mm on the left and 2 mm on the right gives 3 / (3 + 2) = 60%, or 60/40. Keep measuring tools away from the card surface.
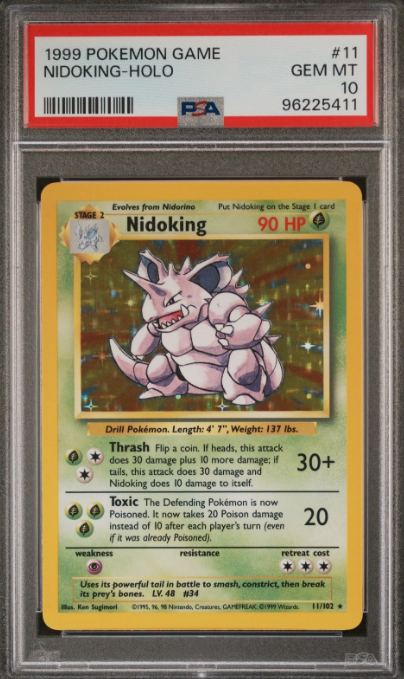
PSA lists approximately 55/45 on the front and 75/25 on the back for PSA 10. Centring is only one assessment area. Requirements depend on the company and grade, so always check the current standards. PSA grading standards
Assess the whole card
Consider all four areas before deciding. A clean surface cannot compensate for every crease or worn corner. Do not calculate a final grade as a simple average of your own subgrades. Grading companies use different assessment methods.
Strong candidate
No obvious defects after a thorough inspection. Consider submitting based on your goal.
Candidate with reservations
Minor defects or uncertain centring. Decide whether a lower grade would still be acceptable.
Worn or damaged
Visible scratches, creases or significant wear. Rarity, authenticity or personal significance may still justify grading.
If your goal is resale, include grading, add-ons, shipping and selling costs. Asking prices are not completed sales. A high listing price does not prove the card will sell for that amount.
Should I grade this card?Inspect the card without altering it
Avoid wax, polishing, liquids, pressure and attempts to repair damage. Restoration or foreign substances can cause a card to be classified as altered or receive no numerical grade. The goal is to understand its condition, not change it.
Read PSA's rules on altered cardsYour pre-submission checklist
0 / 7Use the same lighting, sequence and criteria for every card. This checklist is for your own inspection, not a requirement or a grade guarantee.
Get a second opinion from Slabbed
Unsure about condition? A card review gives you our recommendation on which cards to send on. Choose review only or add a review to grading. The grading company always assigns the final grade.
Card review costs €3.35 per card, or €0.67 per card for the cards you also grade with us. Prices shown include applicable VAT.
If you do not select and pay for insurance, your cards are not insured, either while with us or in transit to the grading company and back to you. Any carrier liability is not insurance coverage for your cards.
See the process and packing guidance